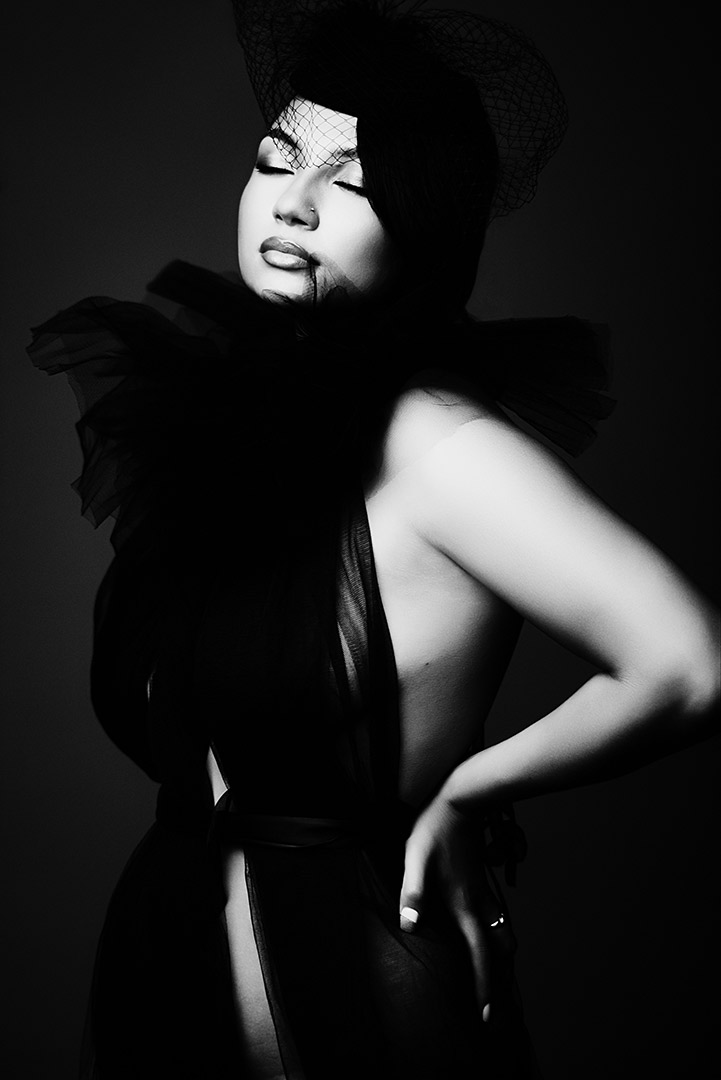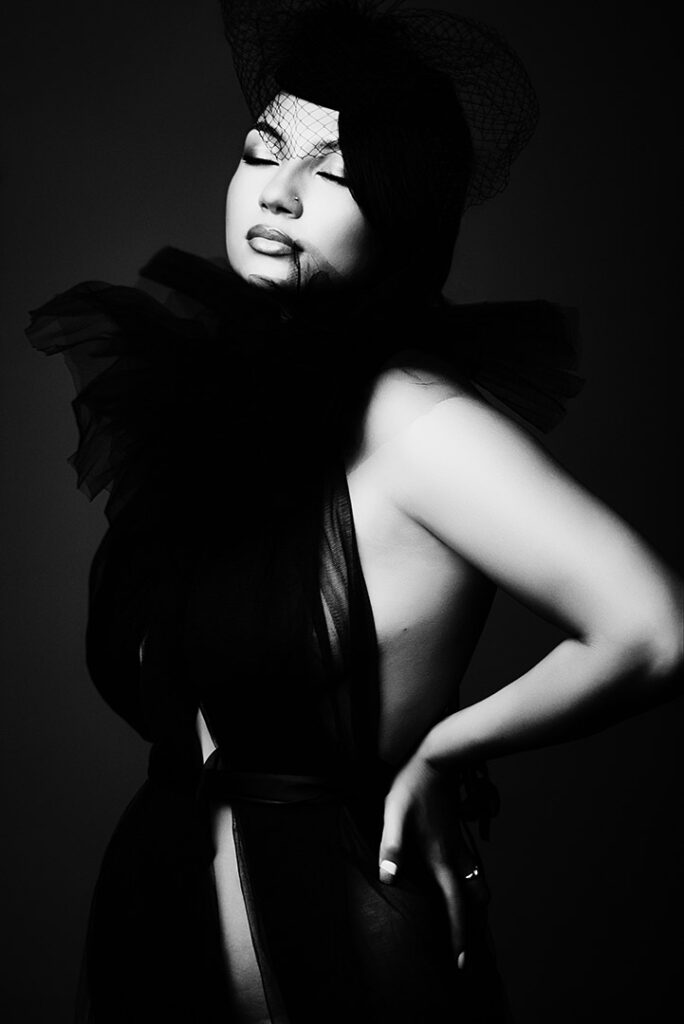
I purchased this cape a couple of years ago on Etsy to use for a Halloween photo shoot and then it just hung on a rack, not being used. Maybe you went to an amazing Halloween party and you rocked your dramatic black cape, and now what do you do with it?
DIY is a huge part of what makes me happy and stirs my creativity as a photographer, and it’s also become a large part of my photography brand. I enjoy taking fabric and transforming it into a one-of-a-kind garment for my clients and fashion editorials, and I also love multi-purposing a piece of clothing that seems like it’s a one time use (ex. Halloween cape), and finding a way to elevate it’s value for you, your client, and your studio.
For this Old Hollywood Glam style photo shoot, I turned the cape around so it was backwards, with the collar in the front. It had several layers of tulle, so I pulled apart a few layers to each side, using safety pins and small clamps in the back. I tried to create a symmetrical feel with the openings that revealed some skin from the inner bust and down the thigh, but keeping the fabric bunched enough to not be too revealing. I finished the piece by tying a scrap of tulle “belt” at the waist. Being able to do this on a mannequin is incredibly helpful to visualize the final outcome.
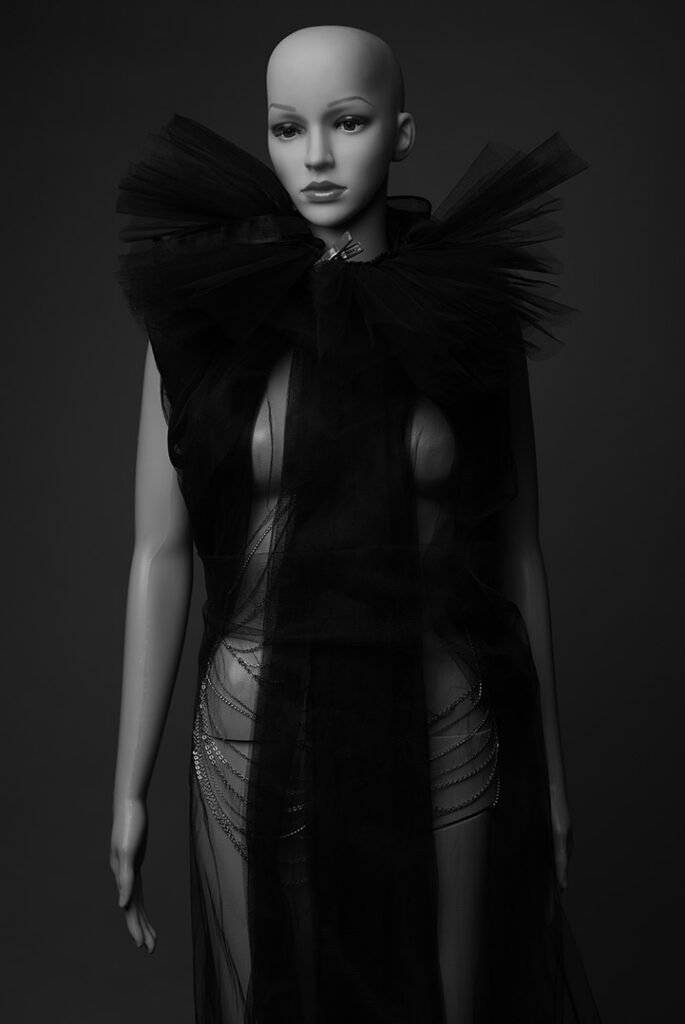
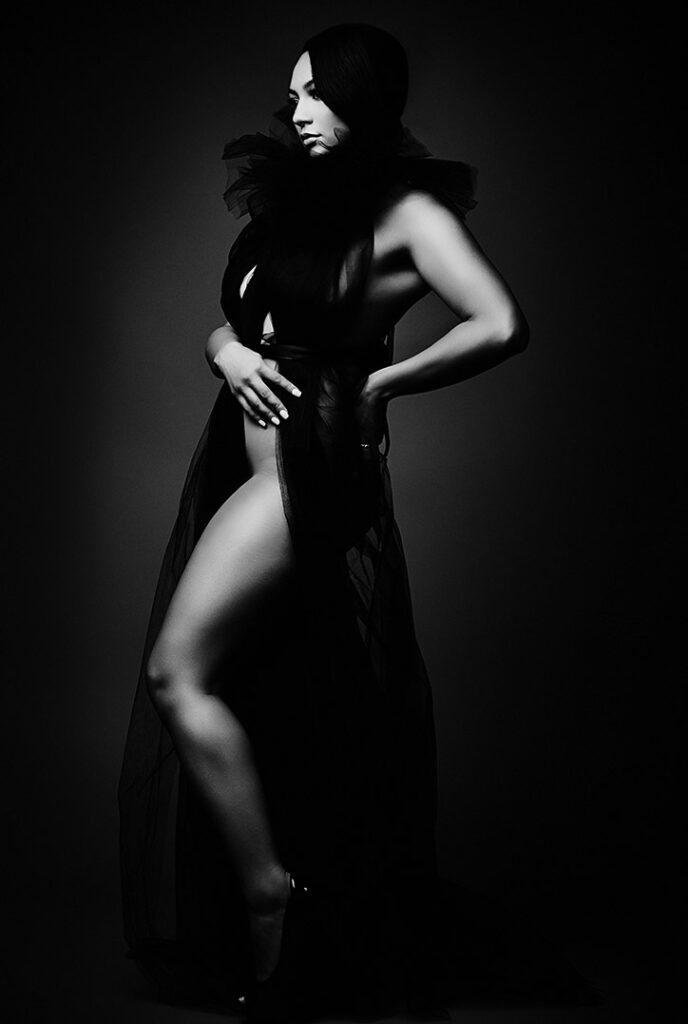
Fun fact: There was nothing to the back; it couldn’t be photographed as a full dress, but in this case it didn’t need to. If I wanted to finish the back, it would have been fairly easy to add a back panel of black tulle or any other easy to pin fabric, which is something I’ve done many times when creating a garment from fabric.
Another element to add some sophistication for a few of the images, was adding two black fascinators which I pinned together to give me some added drama.
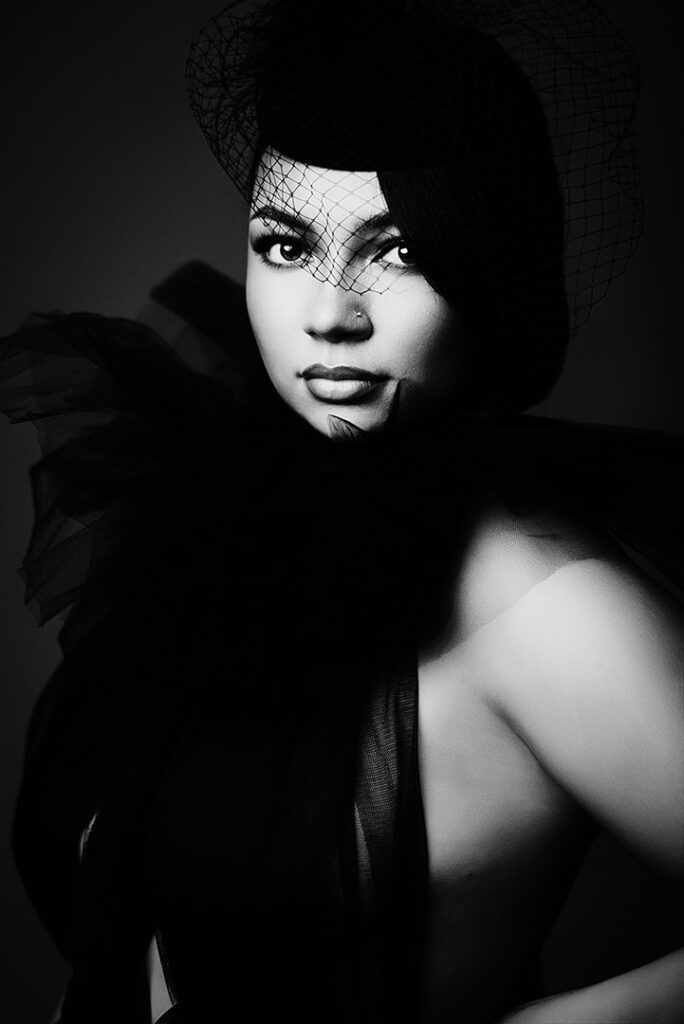
Bonus: Behind The Scenes: How I Got The Shot
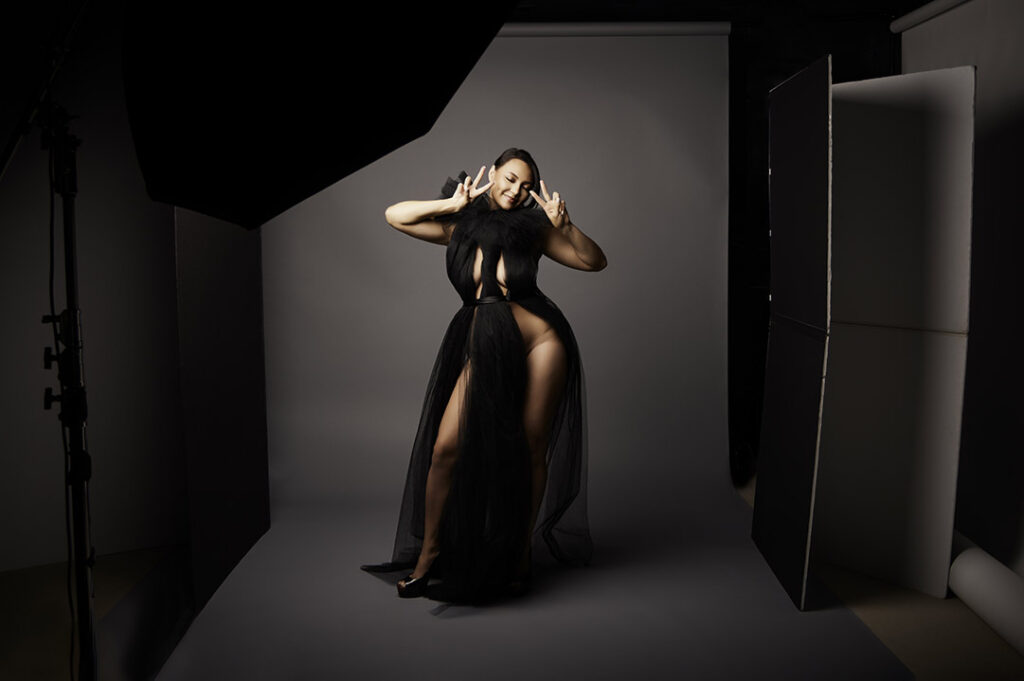
I created these dramatic images using a one light set up with my Profoto D1 Air 1000 Ws Monolight, and a Profoto 5′ Octabox with Diffusion. I typically choose hard light for this type of photo shoot, but in this case, I wanted to go the opposite way, with a large, super soft, double diffused modifier. Because I chose such a large modifier that would send the light all over, I added black V-Flats at either side of my client for negative fill, and to create more drama with the shadows. Finally, I opted for a Savage Universal Fashion Gray Background, one of my go-to backdrops.
I love this set-up and have used it in a variety of different looks with my clients, because it is so versatile.
Let me know if you try it out, and what you think!
